Since Lowe’s was closing out their store, I found myself wandering around their plumbing department in search of a good deal on a new shower head or furnace filter. The shelves were mostly bare of anything I actually needed, but a bunch of plumbing bits and bobs caught my eye because they were so bright and shiny.
Especially the pretty copper pieces. Which happened to be 75% off.
I’d been thinking about replacing my current invisible Santa wreath and impulsively bought a box of pieces and resolved to figure something out when I got home.
For about 15 bucks I got a nice assortment of sparkly copper cups. And a few brass rings. Papa Bear suggested I solder them together but, c’mon, who are we kidding? I’m a glue gun girl.
I had an old corrugated plastic sign which I cut into a triangle and spray painted. I tried out a variety of colours - because I have way too many quarter-full cans of spray paint in the garage. Silver. Hammered silver. Gold. Bronze. Green. Black.
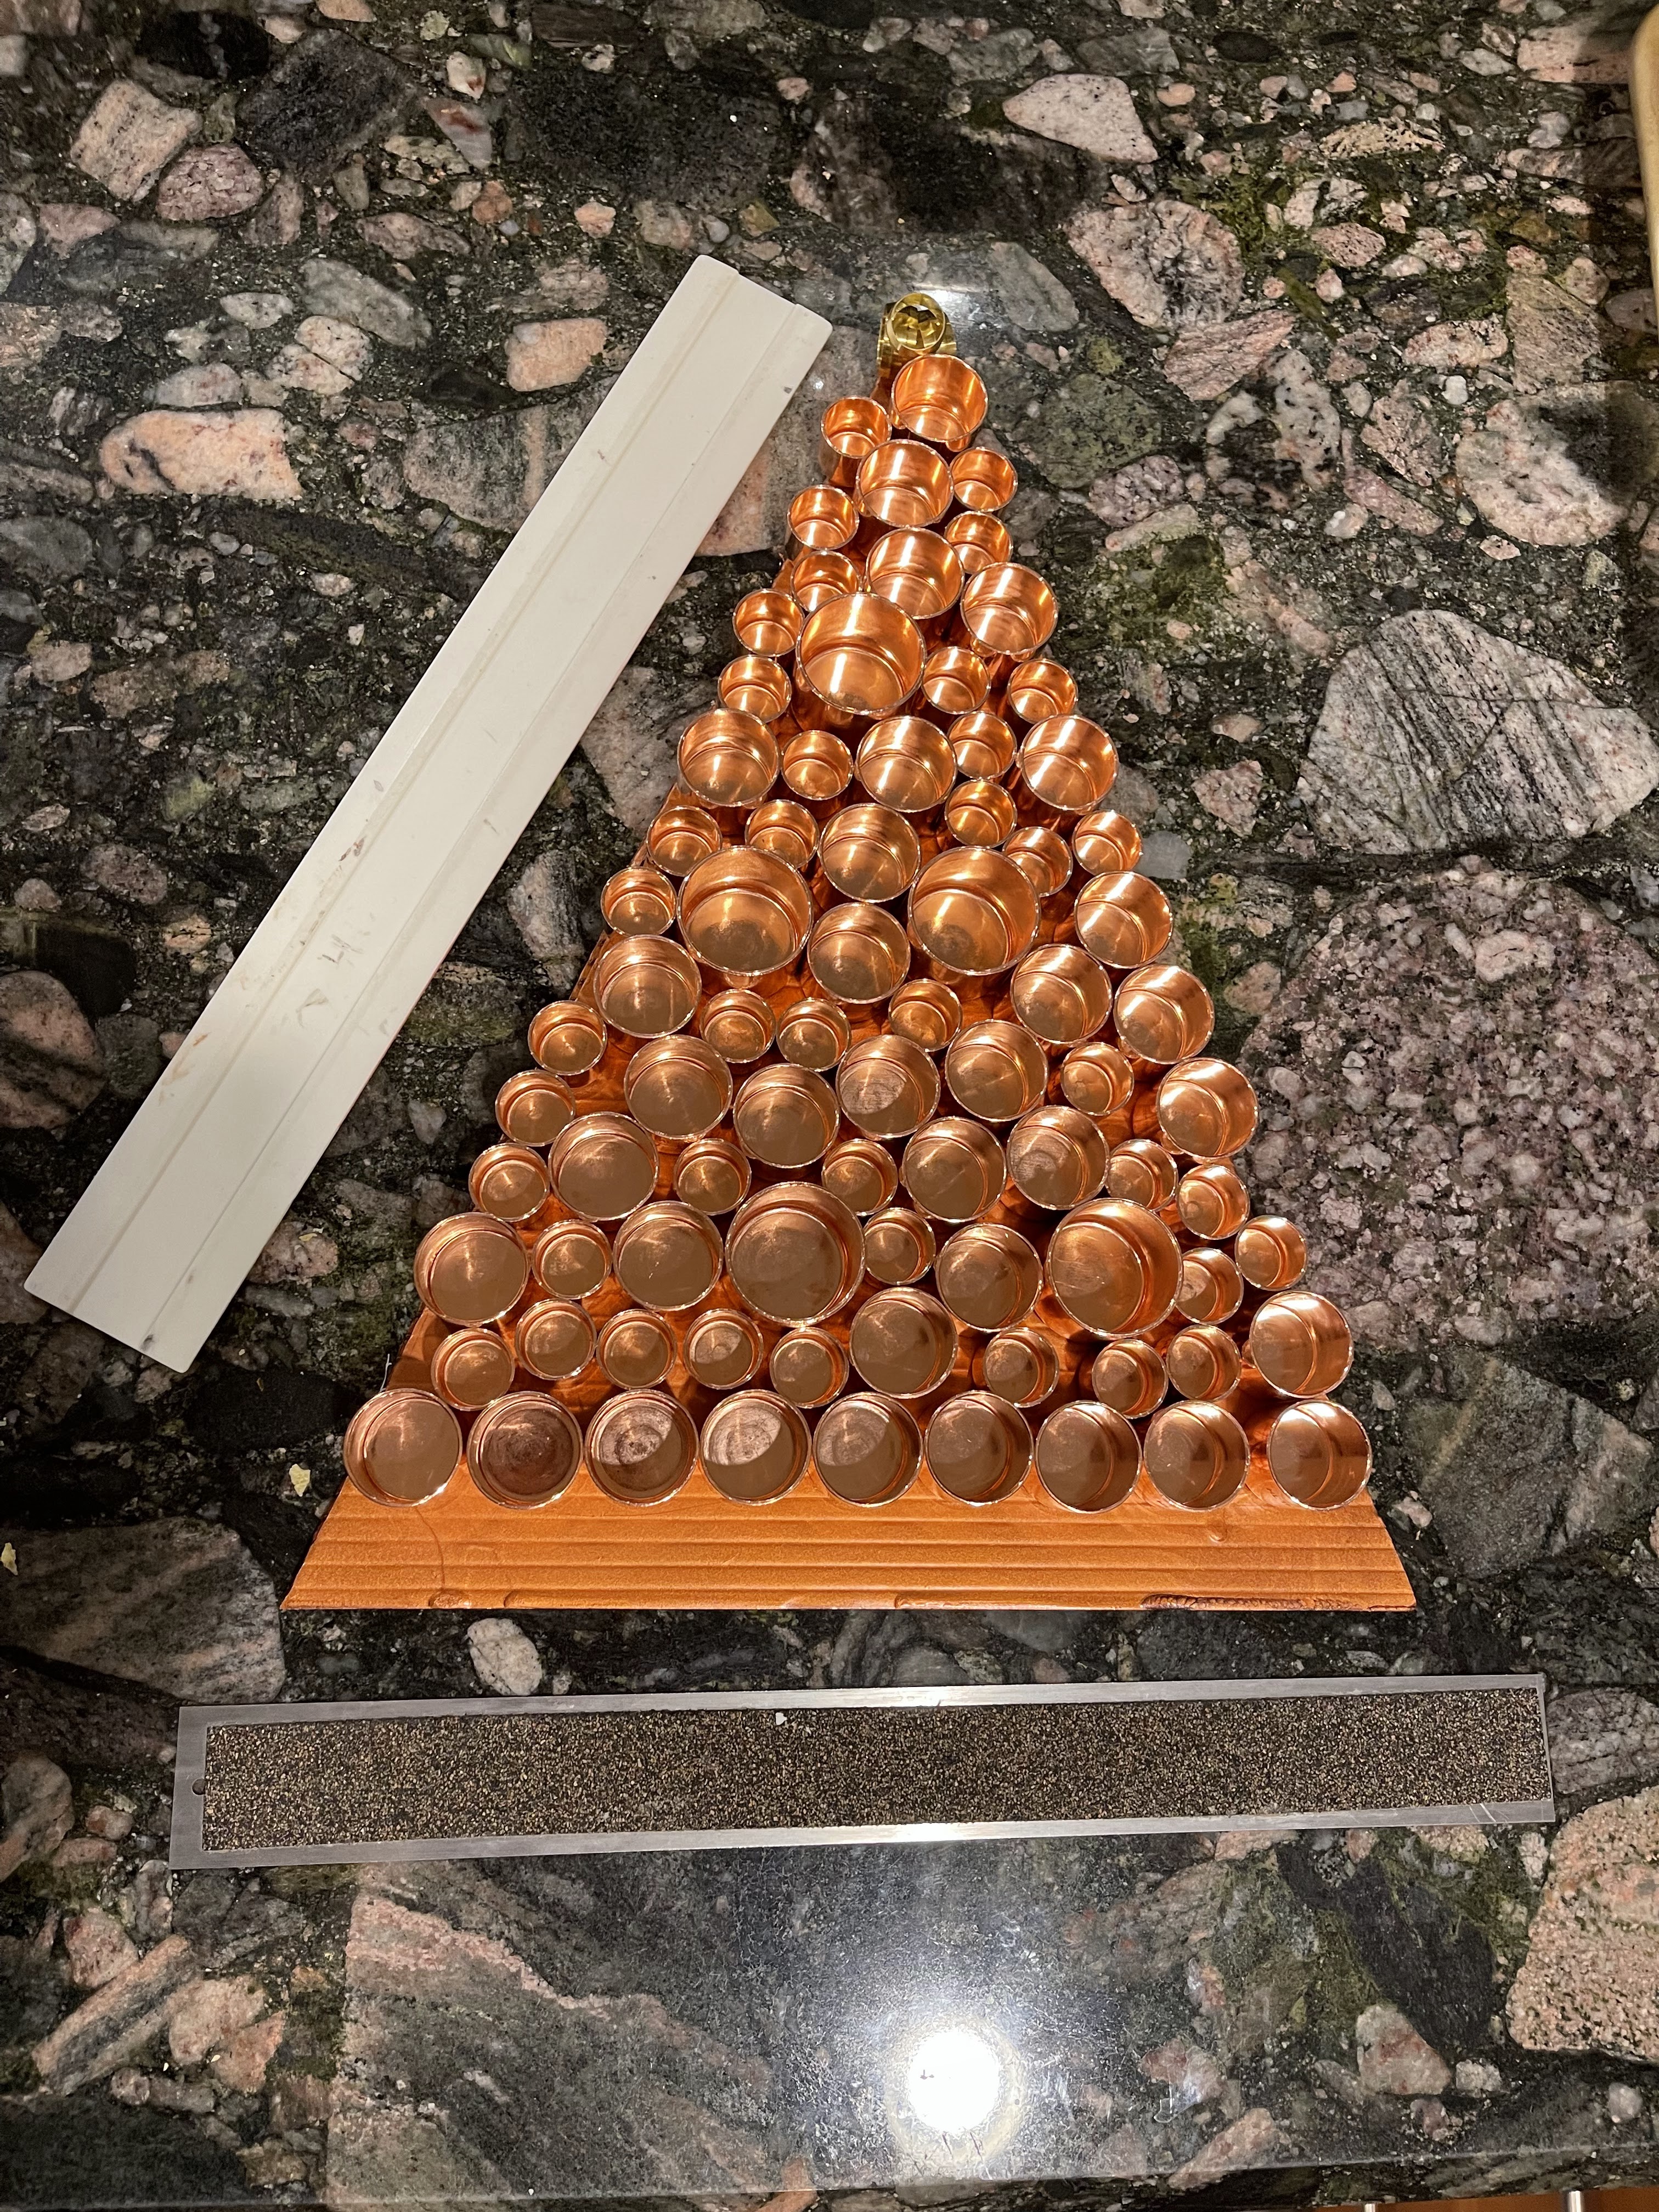
I thought copper-coloured would be too monotone at first, but once I tested it, I realized it made a nice neutral background. Next, I sprayed the triangle backing with a couple of coats and when it was dry, started arranging the pieces. It was surprisingly tricky to come up with a pleasing pattern. This may have been the most time-consuming part of the project.
Once they were arranged to my (mostly) satisfaction, I lifted the copper cups, one by one, and glued them down.
When I was done, the dang thing weighed over a kilo. This was going to need a sturdy method for hanging. Not only was I unsure the plastic backing would hold, I had also forgotten to punch holes for the wire hanger.
Back to the garage.
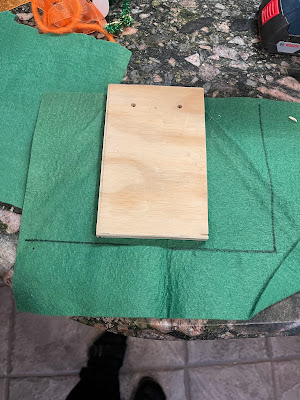
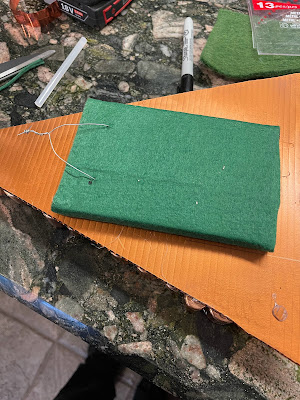
Found a piece of wood that seemed to be the right size but it wasn’t very pretty. I could have spray painted it, but I didn’t want to get paint all over my hands again and was too impatient to wait for multiple coats to dry so I to covered it with felt instead.
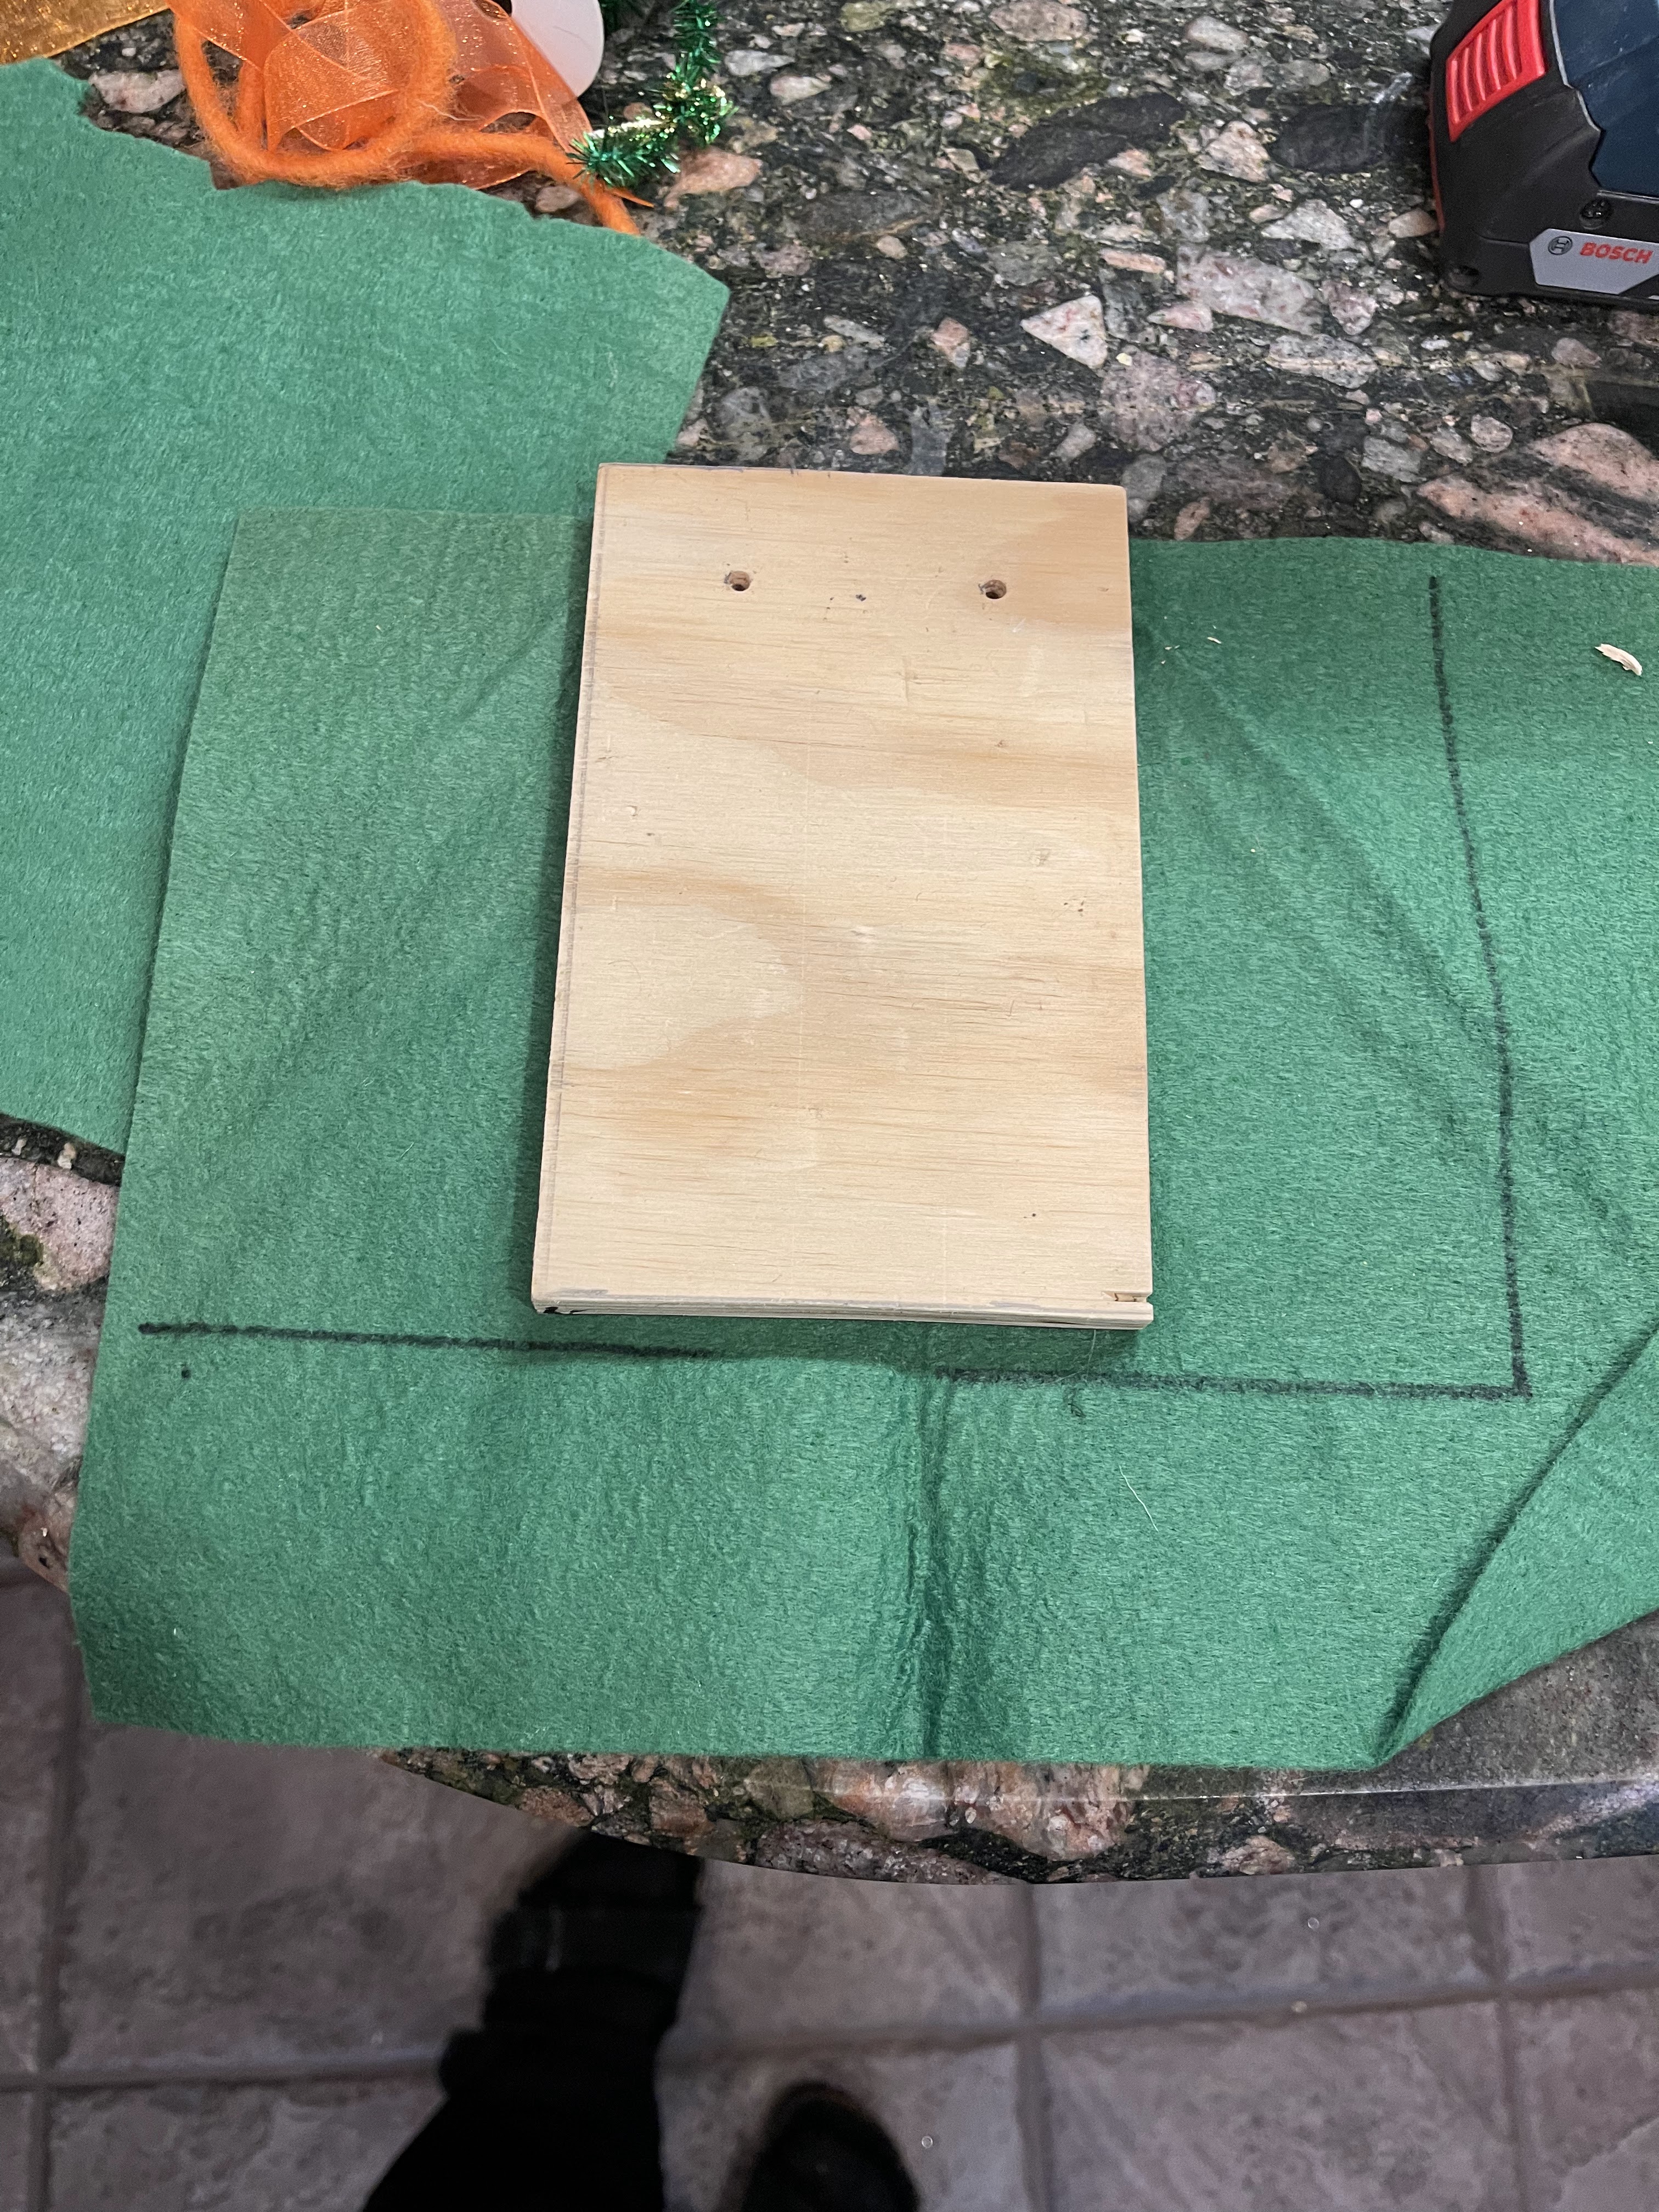
This time I remembered to drill holes for the wire.
When I was glue-gunning the felt-covered wood to the plastic backing, I realized the glue might not hold this much weight so I got out my trusty Shoe Goo. I let it set for 24 hours.
“What are you going to do about the bottom?” Papa Bear wanted to know.
Hmm. This time, up to the attic to see what supplies I had on hand. I played around with ribbon and felt chunks that looked like a trunk, but in the end went with a flow-y bunch of ribbons and yarn and felt.
Now it’s hanging on my door. Will it hold? IDK. But it sure looks pretty, doesn’t it?
Here are some pictures of my haphazard process:
 |
Playing around with the design
|
 |
Finally happy with the configuration. But then I knocked it and had to start again.
|
 | | |
|
|
|
|
|
|
|
|
|
|
|
|
|
|
|
|
|
|
|
|
|
|
|
|
|
|
|
|
|
|
|
|
|
|
|
|
|
|
|
|
|
|
|
|
|
|
|
|
|
|
|
|
|
|
|
|
|
|
|
|
|
|
|
|
|
|
|
|
|
|
|
|
|
|
|
|
|
|
|
|
|
|
|
|
|
|
|
|
|
|
|
|
|
|
|
|
|
|
| | | |
| Ugly wood with holes for hanger |
|
 |
Getting ready to wrap it in felt
|
 |
| Realized it would be too much work to wrap the top and bottom edges, so found used some old coppery ribbon. Not ideal. But no one will see it. |
|
|
|
 |
Cleverly remembering to attach the hanger. This time.
|
 |
Making sure this sucker sticks!
|
 |
Trying to figure out what the bottom will look like
|
 |
Adding some wire to hold the bottom ribbons.
|
 |
Attaching the ribbon to the back.
|


No comments:
Post a Comment